Sometimes I dabble in the King’s Gambit. Most of the time Black simply takes the f4-pawn. And White continuous with 3.Nf3 and heads off into much analyzed lines.
But what is wrong with 3.Bc4, the Bishop’s Gambit? It turns out that most White players fear 3…Qh4+ 4.Kf1, and White can’t castle. And his King sits uncomfortably in the center.
Oh, by the way, both 4.Ke2 and 4.g3 fail miserably. Here is a sample game.
Hornby-Ford
CompuServe, 1994
1.e4 e5 2.f4 exf4 Bc4 Qh4+ 4.g3 fxg3 5.Bxf7+ Kxf7 6.Qf3+ Nf6 7.hxg3 Qxe4+ 8.Qxe4 Nxe4 9.Nf3 Nxg3 10.Rh3 Ne4 11.d3 Nf6 12.Nc3 Nc6 13.Bd2 d5 14.Ng5+ Kg8 15.Rh4 h6 16.Nh3 Bxh3 17.Rxh3 Re8+ 18.Kf1 Bc5 19.Ne2 Ng4 20.b4 Nxb4 21.Bxb4 Bxb4 22.Rb1 Bc5 23.Rxb7 Bb6 24.Nc3 Ne3+ 25.Ke2 Nc4+ 26.Kd1 Nd6 0-1
So White is left with 4.Kf1.
Now what does Black do? Well, Black can go wrong very quickly. Here are some games to show the point.
Jaenisch-Kieseritzky
corres., 1838
[A game slightly on the bizarre side.]
1.e4 e5 2.f4 exf4 3.Bc4 Qh4+ 4.Kf1 c5 5.Nc3 Ne7 6.Nf3 Qh5 7.Nb5 d5 8.Nc7+ Kd8 9.Nxd5 Nxd5 10.Bxd5 Kc7 11.d4 g5 12.h4 Bg4 13.c3 Kc8 14.Kf2 Bxf3 15.gxf3 Nc6 16.Qa4 Nd8 17.Bd2 Bd6 18.Rag1 gxh4 19.Rg4 h3 20.e5 Bc7 21.Bxf4 a6?! 22.Kg3 (If Black follows through with his plan then White wins with 22…b5 23.Qc2 Ra7 24.Rxh3) 1-0
B. Malyutin-P. Milyukov
Odessa, 1918
1.e4 e5 2.f4 exf4 3.Bc4 Qh4+ 4.Kf1 f3? 5.Nxf3 Qxe4 6.Bxf7+! Kd8 7.Kf2 Nh6?! 8.Re1 Qxe1+ 9.Qxe1 Nxf7 10.d4 Bd6?! 11.Ng5! Nh6 12.Qe4! Rf8+ 13.Kg1 c5?! 14.Nxh7 Re8 15.Bg5+ Be7 16.Re1 Ng8 17.d5 d6 18.Nf8!? Bd7 19.Qf4! Nf6 20.Ng6 Nxd5 21.Qxd6 Bxg5 22.Rxe8+ Kxe8 23.Qf8mate 1-0
Zaharchenko-Usachyi
USSR, 1970
1.e4 e5 2.f4 exf4 3.Bc4 Qh4+ 4.Kf1 c6?! (Perhaps too soon to play this move.) 5.d4 g5 6.Qf3 Nf6 7.g3 Qh5 8.e5 d5 9.Qxh5 Nxh5 10.Be2 g4 11.gxf4 Rg8 12.Nc3 Bh6 13.Nh3 Na6 14.a3 Nc7 15.Ng5 Bf5 16.Bd3 Bxd3+ 17.cxd3 Ne6 18.Rg1 Nxd4 19.Rxg4 Nb3 20.Rb1 Nxc1 21.Rxc1 Nxf4 22.Nxh7 O-O-O 23.Nf6 Rxg4 24.Nxg4 Nxd3 25.Rd1 Nxb2 26.Nxh6 Nxd1 27.Nxd1 Kd7 28.Nf2 Rf8 29.Nd3 Ke6 30.Nc5+ Ke7 31.Nf5+ Kd8 32.e6 Kc7 33.e7 Re8 34.Nxb7 Kxb7 35.Nd6+ Kc7 36.Nxe8+ Kd7 37.Nd6 Kxe7 38.Nc8+ Kd7 39.Nxa7 1-0
A special case: after 4.Kf1, 4…Bc5 is not good due to 5.d4. Here are some games showing why this is so.
Greco-N.N., 1620
[Greco]
1.e4 e5 2.f4 exf4 3.Bc4 Qh4+ 4.Kf1 Bc5 5.d4 Bb6 6.Nf3 Qe7 7.Bxf4 Qxe4 8.Bxf7+ Kf8 9.Bg3 Nh6 10.Nc3 Qe7 11.Bb3 c6 12.Qd3 d5 13.Re1 Qf6 14.Bh4 Qg6 15.Be7+ Kg8 16.Qxg6 hxg6 17.Nxd5 cxd5 18.Bxd5+ Kh7 (18…Nf7 19.Ng5 Rh5 20.Bxf7+ Kh8 21.Bxg6 Rh4 22.Nf7+ Kg8 23.Bxh4 +-) 19.Ng5mate 1-0
Greco-N.N., 1620
[Greco]
1.e4 e5 2.f4 exf4 3.Bc4 Qh4+ 4.Kf1 Bc5 5.d4 Bb6 6.Nf3 Qe7 7.Bxf4 Qxe4 8.Bxf7+ Kf8 9.Bg3 Nh6 10.Nc3 Qe7 11.Bb3 c6 12.Qd3 d5 13.Re1 Qf7 14.Bd6+ Kg8 15.Re7 Qf6 16.Nxd5 Qxd6 [16…cxd5 17.Bxd5+ Kf8 (17…Nf7 18.Re8#) 18.Rf7+ Ke8 19.Rxf6 gxf6 20.Qe3+ Kd8 21.Qe7#] 17.Nf6+ Kf8 18.Re8mate 1-0
Harrwitz-Anderssen
Match, Breslau, 1848
1.e4 e5 2.f4 exf4 3.Bc4 Qh4+ 4.Kf1 Bc5 5.d4 Bb6 6.Nf3 Qe7 7.Nc3 Nf6 8.e5 Nh5 9.Nd5 Qd8 10.g4 fxg3 11.Bg5 f6 12.exf6 gxf6 13.Ne5 O-O 14.Qxh5 fxg5+ 15.Nf6+ Kg7 16.Qxh7+ Kxf6 17.Ng4mate 1-0
P. Morphy-A. Morphy
New Orleans, 1848
1.e4 e5 2.f4 exf4 3.Bc4 Qh4+ 4.Kf1 Bc5 5.d4 Bb6 6.Nf3 Qe7 7.Nc3 Nf6 8.Qd3 c6 9.Bxf4 d5 10.exd5 O-O 11.d6 Qd8 12.Re1 Re8 13.Ng5 Rxe1+ 14.Kxe1 Qe8+ 15.Kd2 Be6 16.Re1 Nbd7 17.Nxe6 fxe6 18.Rxe6 1-0
Black does better with moves like 3…Nf6, 3…Nc6, 3…d6, and 3…d5.
But even with the better moves, Black can find himself in trouble.
GM Fischer-GM Evans
US Ch.
New York, Nov. 16 1963
[Fischer, “Exclusive Commentary on Round Two”, Chess Life and Review, Jan. 1964]
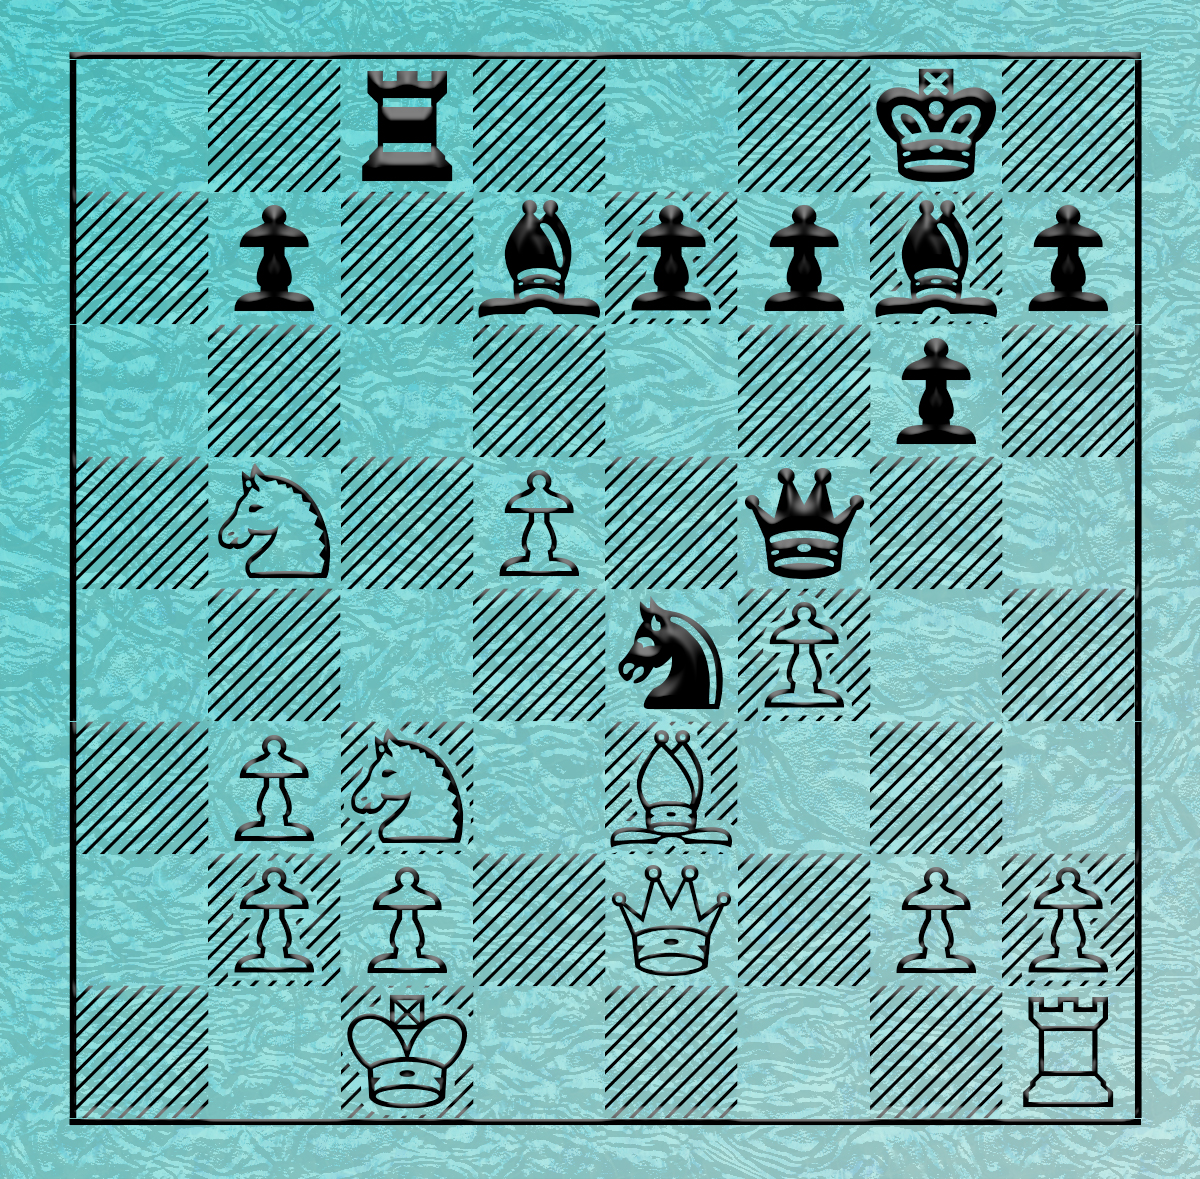
1.e4 e5 2.f4 [I knew that my opponent had some prepared line (since he usually plays the Sicilian) but felt that he would be unfamiliar with the King’s Gambit. Besides, I’d made up my mind to play it in this tournament anyway.] 2…exf4 3.Bc4 [Better than 3.Nf3 which is practically refuted by 3…d6 (see my analysis in the American Chess Quarterly.)] 3…Qh4+ (Turning it into an old-fashioned slugfest. The moderns frown on this move and prefer to fight in the center with 3…Nf6 4.Nc3 c6, etc.) 4.Kf1 d6? [Evans said this game would set chess back a hundred years. He didn’t know how right he was! The defense he chooses was also played by LaBourdonnais against MacDonnell (20th Match Game, 1834) which continued 5.d4 Bg4 6.Qd3 Nc6 7.Bxf7+? Kxf7 8.Qb3+ Kg6 9.Qxb7 Nxd4 10.Qxa8 f3 with a winning attack. More usual is 4…g5 (or d5) 5.Nc3 Bg7 6.d4 Ne7 7.Nf3 Qh5 8.h4 h6 and it’s a hard game.] 5.Nc3? [Returning the compliment. It’s natural that White should want to save the juicy tempo (5.Nf3!) and I make the same mistake as MacDonnell by delaying this move.] 5…Be6! (I overlooked this move. Now Black has a choice of where to put his Queen once she’s attacked.) 6.Qe2 c6 7.Nf3 (Inaccurate. Having made the mistake of delaying this move once, White should hold off a while longer and play 7.d4, which does not permit Black’s Queen to retreat to e7 without relinquishing his “f” pawn.) 7…Qe7 (If 7…Qh5 8.Nd5! Now, however, Black has time to consolidate his king’s position.) 8.d4 Bxc4 9.Qxc4 g5 (Despite White’s strong center and great lead in development, Black’s position is not easy to crack. If 10.h4 g4 11.Ne1 Bh6, etc.) 10.e5 d5 [During the game I thought Black’s best defense was 10…dxe5 11.Nxe5 (11.dxe5 Nd7 12.Ne4 Nxe5 13.Nxe5 Qxe5 14.Bd2 is unclear) 11…Nd7 12.h4 Nxe5 13.dxe5 Qxe5 14.hxg5 O-O-O 15.Bxf4 Qf5 with equality.] 11.Qd3 [11.Nxd5 cxd5 12.Qc8+ Qd8 13.Qxb7 Nd7 is unsound. (14.Nxg5? Rb8). Now the threat is simply 11.Qf5.] 11…Na6 12.Ne2 (Not 12.Qf5 Nh6 13.Qxg5 Qxg5 14.Nxg5 Nb4 15.Bxf4 Nxc2 16.Rd1 Nf5 and Black wins.) 12…Nb4 (12…f6 loses 13.Qf5 Bg7 14.exf6 Bxf6 15.Bxf4! gxf4 16.Nxf4 with a winning attack. It is important to repel White’s queen from its present diagonal.) 13.Qd1 O-O-O (Very complicated, and possibly better, is 13.c3 which leads to a more active defense.) 14.c3 Na6 15.h4 g4 16.Nh2! h5 (Better was 16…f3 17.gxf3 gxf3 18.Nxf3 f6 although White’s king is quite safe and Black lags in development. Also to be considered was 16…Qxh4 17.Nxf4! g3 18.Qg4+ Qxg4 19.Nxg4 with a powerful ending.) 17.Nxf4

17…Qxh4? [The losing move. Relatively best is 17…Kb8 (preventing Nxh5!) but his game is already bad.] 18.Kg1 (Black apparently underestimated the strength of this move. He has no adequate defense now to the twin threats of 19.Nxg4 and Nf1.) 18…Nh6 (The only way to avoid outright material loss. Black originally intended 18…Bh6 but 19.Nf1 followed by Rxh5 stands him up.) 19.Nf1 Qe7 20.Nxh5 Rg8 (Black already knew he was lost and was shaking his head in amazement at how quickly White’s dead pieces had sprung to life.) 21.Nfg3 Rg6 22.Nf4 Rg5 (If 22…Rg8 23.Nxd5, etc.) 23.Be3 Nc7 (The last hope. 23…f6 is answered by 24.Qd2 fxe5 25.Nxd5, winning a full rook.) 24.Qd2 Rg8 25.Nfe2 (This piquant retreat wins a piece, putting a clear end to black’s agony.) 25…f6 (Black is still hoping for a miracle.) 26.exf6 Qxf6 27.Bxh6 Bd6 28.Rf1 Qe6 29.Bf4 Rde8 30.Rh6 Bxf4 31.Qxf4 Qe7 32.Rf6 (Tripling on the Bishop file.)

32…Ne6 33.Qe5 Ng5 34.Qxe7 Rxe7 35.Rf8+ (Trading down to skin and bones.) 35…Rxf8 36.Rxf8+ 1-0
Westerinen (2420)-Moen (2325)
Gausdal Zt., 1985
[Pliester, NIC 3/18159]
1.e4 e5 2.f4 exf4 3.Bc4 Qh4+ 4.Kf1 Nc6!? 5.d4 d6 N (5…g5) 6.Nf3 Qh6 (6…Bg4 7.c3 +/=) 7.Nc3 Nf6 8.e5 dxe5 (8…Nh5? 9.Nd5 Ng3+ 10.Kg1 +-) 9.dxe5 Nh5 10.Nd5 Bd7 11.Nxc7+?! [11.g4! Bxg4 (11…Ng3+ 12.Kg2 Nxh1 13.Bxf4 Qg6 14.Nxc7+ Kd8 15.e6! +- ; 11…Bc5!? 12.Nxc7+ Ke7 13.Bxf7! +-) 12.Nxc7+ Ke7 13.b3 Bd7 (13…Nxe5 14.Ba3+ Kf6 15.Nd5+ +-) 14.e6 fxe6 15.Ba3+ Kd8 16.Nxe6+ Ke8 17.Nxf8 Rxf8 18.Bxf8 Bh3+ 19.Kf2 Kxf8 20.Qd5 Qf6 21.Rhe1 Ne7 22.Rxe7! +-] 11…Kd8 12.Nxa8 Ng3+ 13.Ke1 Nxh1 14.Bxf7 Kc8 15.Qd5 Nb4 =/+ 16.Qc4+ (16.Qa5 Qc6 17.Nd4 Nxc2+ 18.Nxc2 Qxc2 19.e6 Qe4+ 20.Kf1 Qc4+ -+) 16…Qc6 17.Nd4 (17.e6? Nxc2+! 18.Kd2 Bb4+ -+) 17…Qxc4 18.Bxc4 Bc5 19.a3 Nc6 20.Nf3 Re8 21.Bxf4 g5 22.Nxg5 Nxe5 23.Be2 Ng6 24.Nc7 Rxe2+! 25.Kxe2 Nxf4+ 26.Kf3 Bd6 27.Rxh1 h5?? (27…Bc6+ 28.Kf2 Kxc7 29.Nxh7 Nh3+! -/+) 28.g3 Bc6+ 29.Ne4 Nh3 30.Nb5! +- (30.Ne6? Kd7! -/+) 30…Ng5+ 31.Ke3 Bc5+ 32.Nxc5 Bxh1 33.Nxa7+ Kc7 34.h4 Nf7 35.Ne6+ Kd6 36.Nf4 Ke5 37.Nxh5 Kf5 38.Nf4 Kg4 39.Ne2 Nd6 40.b3 1-0
Weiss-Brasket
Minnesota Masters Cup Invitational, 1989
1.e4 e5 2.f4 exf4 3.Bc4 Qh4+ 4.Kf1 d5 5.exd5 Nf6 (Black has to be careful after 5…f3? The game can easily continue with 6.Bb5+ c6 7.Nxf3 Qh5 8.Qe2+ Be7 9.dxc6 Nxc6 10.Ne5 Qf5+ 11.Ke1 Qxc2 12.Nc3 Bd7 13.Nxc6 Bxc6 14.Bd3, and the Black Queen is trapped.) 6.Qe2+ Be7 7.Nf3 Qh5 8.Nc3 a6 9.d3 b5 10.Bb3 g5 11.Bd2 Kf8 12.d6 Bxd6 13.Ne4 g4 14.Nxf6 Qg6 15.Bc3 gxf3 16.Qe8+ Kg7 17.Ng4+ f6 18.Bxf6+ Qxf6 19.Nxf6 fxg2+ 20.Kxg2 Bb7+ 21.Kh3 Rxe8 22.Nxe8+ Kf8 23.Nxd6 cxd6 24.Rhg1 1-0
V. Ivanchuk (2716)-Nikolic (2648)
5th IECC Playoff Final
Antalya, Turkey, May 30 2004
[Tim McGrew, The Gambit Cartel]
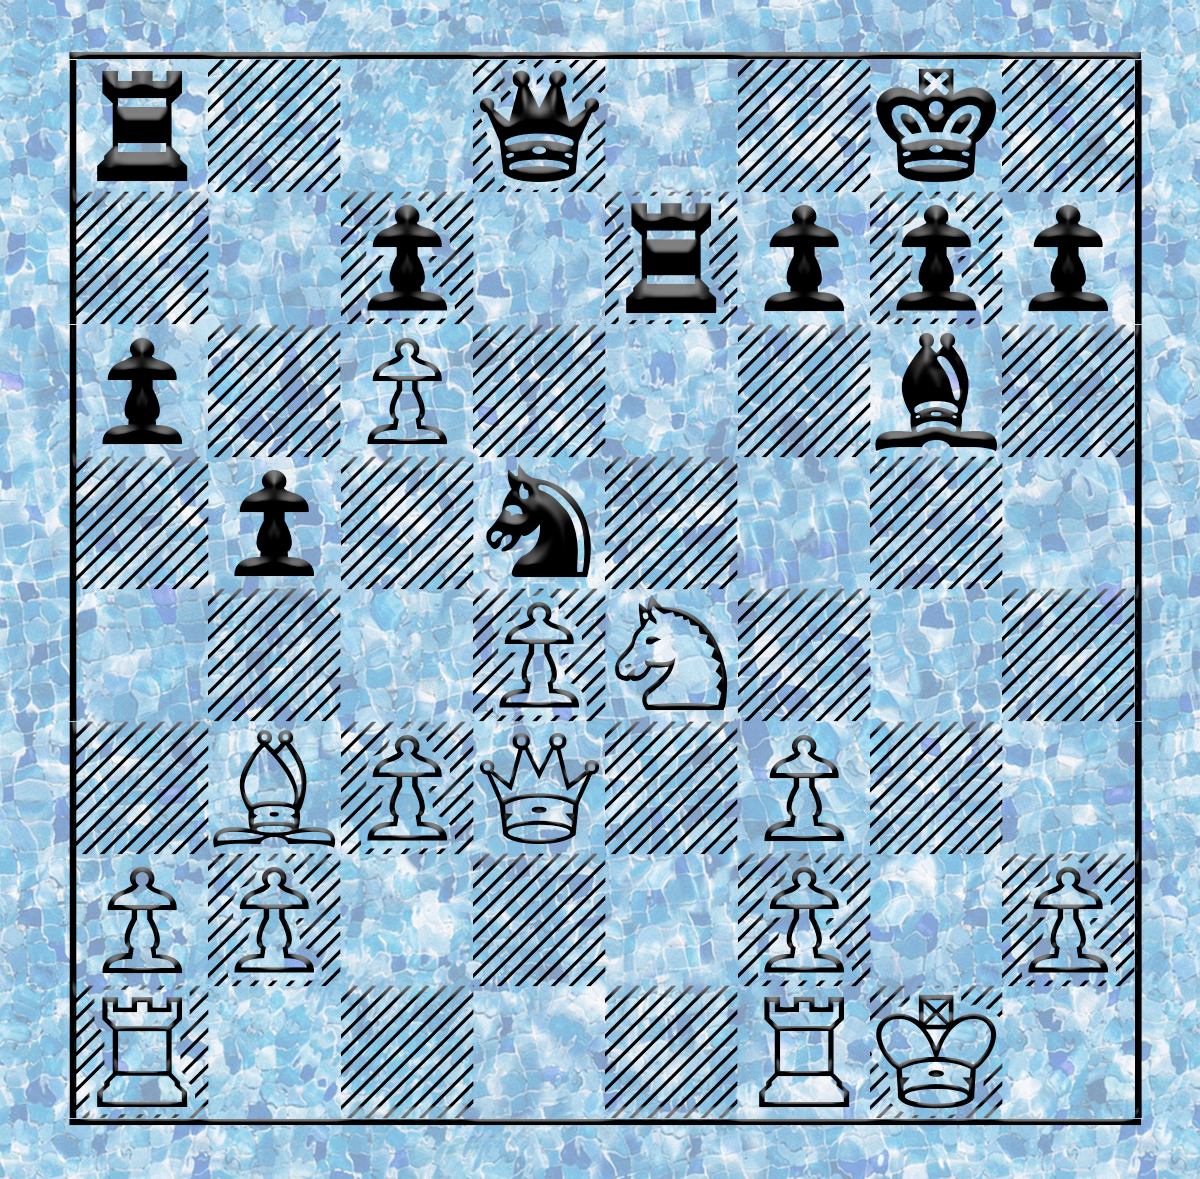
1.e4 e5 2.f4 exf4 3.Bc4 Qh4+ [This check must have been one of the first defensive ideas explored in the Bishop’s Gambit. Emmanuel Lasker recommended it for black in Common Sense in Chess, and even Fred Reinfeld, who revised the openings analysis for the 1946 edition (which practically no one has – the Dover edition on your shelf is a reprint of the 1917 edition), retains 3…Qh4+ as the recommended line.] 4.Kf1 (The king is not nearly as exposed here as he would be on e2, and Black’s queen may herself be harassed by Nf3. In fact, Ivanchuk achieves a powerful position here without a great deal of difficulty.) 4…d6 [Here Lasker (and Reinfeld) both recommend 4…d5 Bxd5 5.g5. Oddly, I can find hardly any games in this formerly popular line between 1929 and 1989. But then van den Doel won a droll game with it (by transposition: 3…d5 4.Bxd5 Qh4+ etc.) in 18 moves at Cappelle la Grande 2001. Someone ought to investigate this.] 5.d4 Be6 6.Qd3 Nf6 7.Nf3 (The anticipated strike at the queen.) 7…Qg4 8.Nc3 Be7 9.h3 Qg6 10.Bxf4 (I have to admit that White’s centralization here is impressive. Ivanchuk is also setting a little trap – at this level of play, really more of a joke for the players to share, though such a joke could easily turn fatal for someone unable to evaluate the end of a tactical sequence accurately.) 10…O-O (Nikolic politely declines the bait. 10…Bxc4 11.Qxc4 Nxe4? looks merely messy at first glance, but after 12.Qxc7! Black has no way to recover his balance.) 11.Re1 (Black’s position could not be said to be bad, but because of White’s grip on the center it is difficult for him to find an effective plan. He decides to go shopping for the perfect exchange of minor pieces, but meanwhile his queenside is sleeping.) 11…Nh5 12.Bh2 Ng3+?! (In hindsight this looks like the turning point of the game.) 13.Bxg3 Qxg3 14.Ne2! Qg6 15.Nf4 (White has repositioned his knight to a very effective square without any loss of time.) 15…Qh6 16.g3 (We now come to a puzzling set of moves where White allows Black to swap on c4 and Black declines to do it. I had thought that the idea was 16.Nxe6 fxe6 17.Qb3. But perhaps Chucky saw what Deep Fritz 7 suggests: after 17…Nc6 18.Bxe6+ Kh8 White’s advantage is evaporating because Black threatens to take on d4.) 16…Nd7 17.Kg2 Nb6? (But this is pretty clearly an error. 17…Bxc4 18.Qxc4 c6 still looks like a reasonable way for Black to hold the balance, though White’s position is a bit more pleasant to play.) 18.Bxe6 fxe6 19.Rhf1 (19.Qb3 would provoke the same exchange sacrifice we see in the game.) 19…c5 20.d5 Rxf4 (This doesn’t quite work, but it is instructive for us lesser mortals to see even the near misses of the super-GMs because it teaches us to consider ideas we might never have thought of. Black was under pressure in any event since White was threatening to sink a knight into e6, so it is hard to suggest really good alternatives.) 21.gxf4 Qxf4 22.dxe6 Rf8 23.b4!? (When someone figures out how super-grandmasters come up with moves like this, please let me know! Until then, my best guess is that it is intended to clear the d4-square, e.g. 23…cxb4 24.Nd4 when the f-file is very useful and the knight has bright prospects on f5.) 23…Rf6 24.Qb5 Rxe6 25.bxc5 Bh4? [Now the roof caves in. 25…dxc5 26.Qe8+ (26.Nd4!? Qg5+ 27.Kh1 Qh5 28.Qb3 c4 29.Qf3 +/-) 26…Qf8 27.Qxf8+ Bxf8 28.e5 looks like a longish but winning ending.] 26.Nxh4 Qxh4 27.Qb3 (Neatly pinning the rook and defending h3 laterally.) 27…d5 28.cxb6 1-0
Escalante (1949)-“klaxcek2” (1771)
King’s Bishop Gambit Thematic, Round 2
chess.com, Sept. 2021
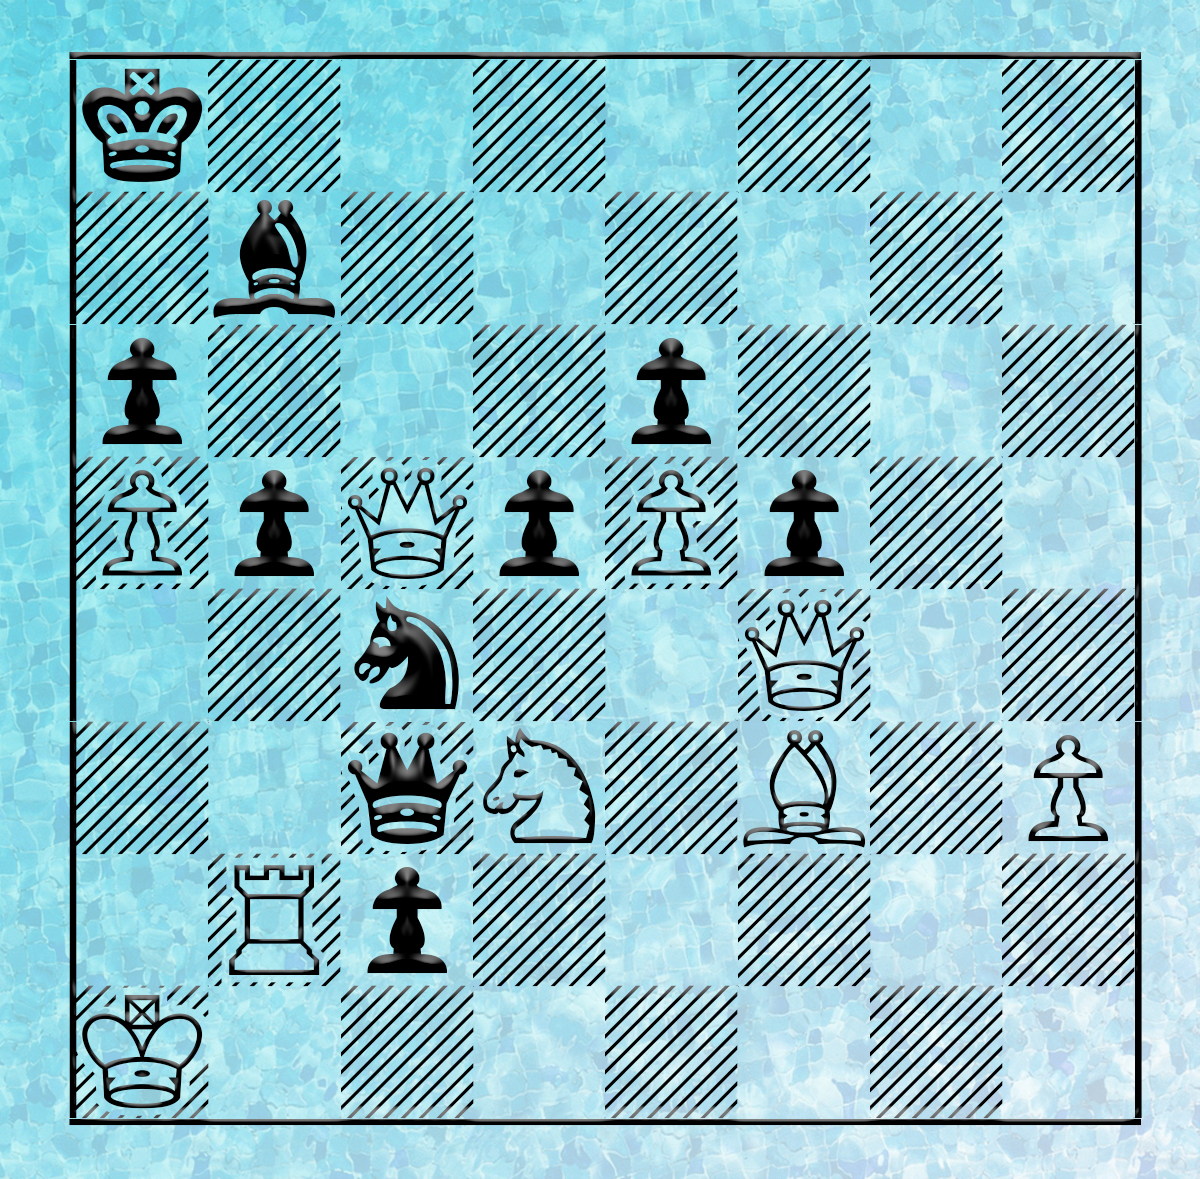
1.e4 e5 2.f4 exf4 3.Bc4 Qh4+ 4.Kf1 Nf6 5.Nf3 Qh5 6.Nc3 d6 7.d4 g5 8.h4 h6 9.e5 Ng4 10.Qe1 (10.Qe2!?) 10…Be7?! (Black has to chance 10…Kd8) 11.Nd5! (White is practically winning after his move.) 11…Kd8

12.Nxe7! Kxe7 13.exd6+ (White has a good position. But as White will have trouble attacking the king from open lines of the center, 13.Kg1, with the idea of hxg5, is probably better.) 13…Kxd6?? (13…Kf8 is Black’s only chance. Then White should continue with 14.Kg1.) 14.Ne5 Be6 15.Qb4+ (Mate is coming.) 1-0
Does this mean that Black cannot win against the Bishop’s Gambit? Of course not. But it’s not as easy as it might seem.
Swiderski-Teichmann
Vienna, 1903
[Fletcher, Gambits Accepted – A Survey of Opening Sacrifices, 1954]
1.e4 e5 2.f4 exf4 3.Bc4 d5 4.Bxd5 Qh4+ 5.Kf1 g5 6.g3 Qh6! 7.d4 c6 8.Bb3? (All subsequent trouble could have been avoided if White had played 8.Bc4, with a continuation such as; 8…Nf6 9.Nc3 Bh3+ 10.Nxh3 Qxh3+ 11.Kg1 fxg3 12.Bf1.) 8…Nf6 9.Nc3 Bh3+ 10.Ke1 Bg2 11.e5 Nfd7 12.h4 Bxh1 13.Nh3 Be7 14.Qg4 gxh4 15.Bxf4 Qg6 16.Qe2 Nb6 17.a4 hxg3 18.Kd2 Bd5 19.Bxd5 cxd5 20.Rg1 Nc6 21.Nb5 Rc8 22.c3 Nc4+ 23.Kc1 N6a5 24.Qd1 Qb6 25.Qg4 Nb3+ 26.Kb1 Qg6+ 0-1
Capablanca-Beckman
Philadelphia, 1924
[This game was probably a simul.]
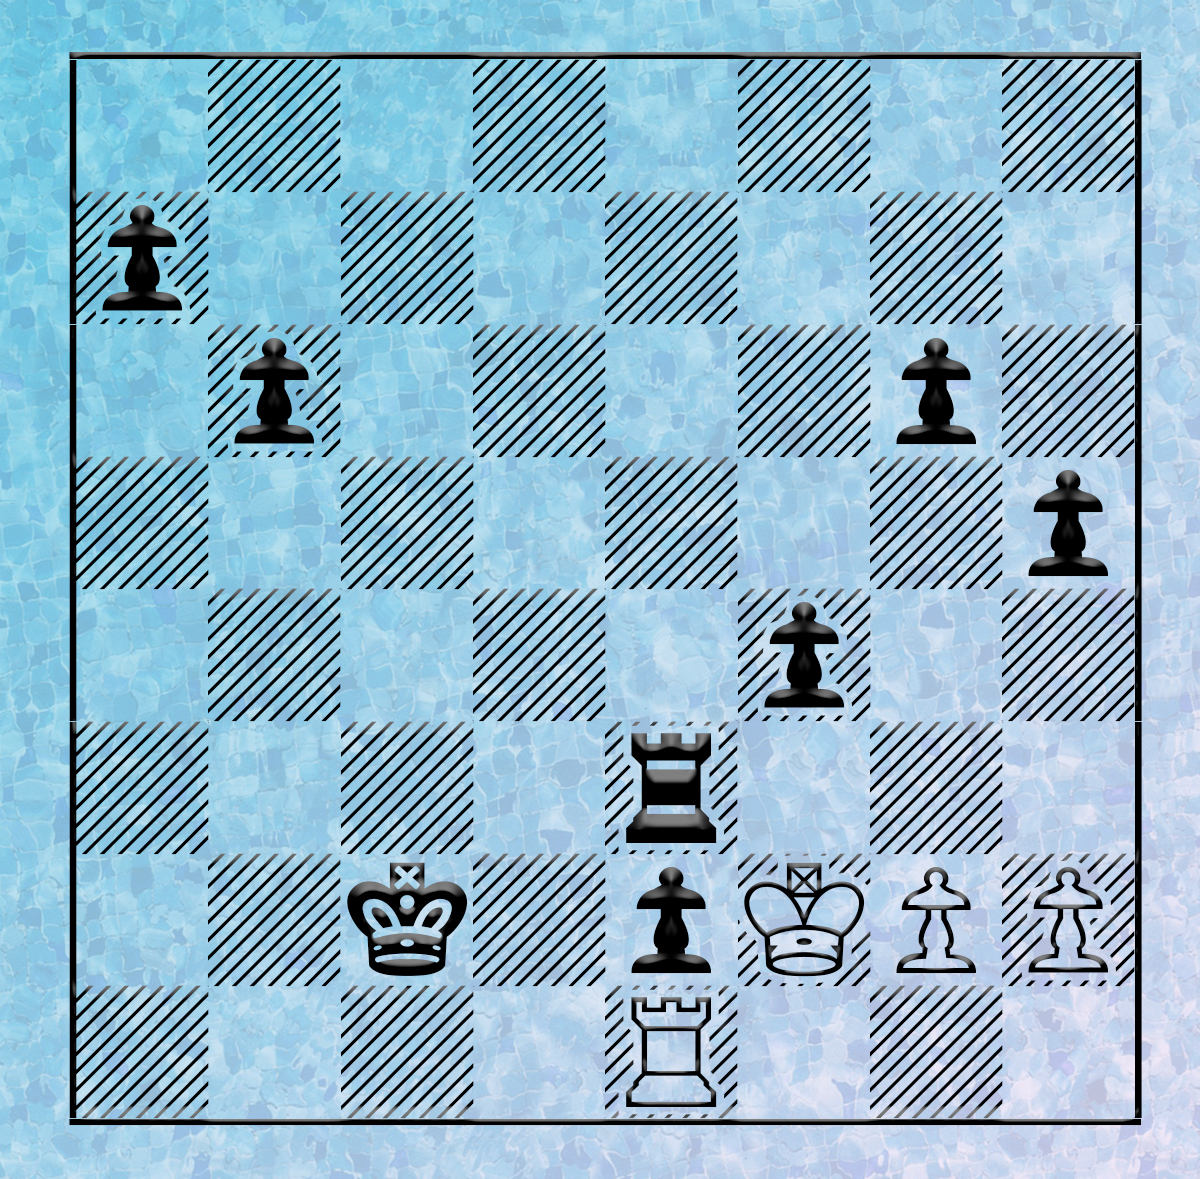
1.e4 e5 2.f4 exf4 3.Bc4 Qh4+ 4.Kf1 d5 5.Bxd5 g5 6.Nc3 Bg7 7.d4 Ne7 8.g3 fxg3 9.Kg2 Nxd5 10.hxg3 Nxc3 11.bxc3 Qxe4+ 12.Nf3 Bg4 13.Re1 Bxf3+ 14.Qxf3 Qxe1 15.Bxg5 Qe6 16.d5 Qe5 17.Bf4 Qe7 18.Qd3 Nd7 19.d6 cxd6 20.Bxd6 Qe6 21.Kf2 O-O-O 22.Re1

22…Ne5! (23.Bxe5 Rxd3 24.Bxg7 Rd2+ 25.Kf1 Qh3+) 0-1
Nietsche-Faktor
Chicago, 1942
[Chernev, 1000 Best Short Games of Chess, #191]
1.e4 e5 2.f4 exf4 3.Bc4 Qh4+ 4.Kf1 g5 5.Nf3 Qh5 6.h4 d5 7.Bxd5 Nf6 8.Nc3 Nc6 9.Bxc6+ bxc6 10.d4 Ba6+ 11.Kg1 g4 12.Ne5 Qxe5! 13.dxe5 Bc5+ (14.Kh2 g3+ 15.Kh3 Bc8+ 16.Qg4 Bxg4#) 0-1
A. Miller-Curdo
Central N.E. Fall Open
Leominster, MA Nov. 11 1972
[John Curdo, “Chess Caviar”, #32 1982]
1.e4 e5 2.f4 exf4 3.Bc4 Qh4+ 4.Kf1 d5 5.Bxd5 Nf6 6.Nf3 Qh5 7.Nc3 Bb4 8.Ne2 (Curdo gives this move a “?”. But I think it’s more of a “?!” – RME) 8…Nxd5 9.exd5 g5 10.c3?! (RME) 10…Bd6 11.Qa4+ Kf8 12.Qd4 Rg8 13.Qf6 g4 14.Qd8+ Kg7? (What is wrong with 14..Bd7 – RME.) 15.Qg5+ Qxg5 16.Nxg5 Bf5 17.h3 Bd3 0-1 (18…Re8 or 18..h6)
Jaroslav Netusil (1990)-Miroslav Honcu (1890)
Czech Team Boys Ch., 2001
1.e4 e5 2.f4 exf4 3.Bc4 Qh4+ 4.Kf1 d6 5.d4 g5 6.Nc3 Ne7 7.Nf3 Qh5 8.Kg1?! (8.Rg1 with the idea of h4.) 8…g4! 9.Ne1 f3! (And now Black has a very advanced pawn.) 10.g3?! (10.Nd3! is better.) 10…Rg8 11.Nd3 Bh6 12.Nf4 Bxf4 13.Bxf4 Ng6 (13…Be6 is an alternative.) 14.Be3 c6 15.b4 Nd7 16.b5 Nb6 17.Bd3 Be6 18.Qf1 d5 19.Kf2 (Better is 19.Re1 to bring the rook into play.) 19…O-O-O 20.a4 dxe4 21.Nxe4 Nd5 22.Bd2 f5 23.Ng5 Nf8 24.Qc1 f4 25.Nxe6 Nxe6 26.bxc6 Qh3 27.cxb7+ Kb8 28.Qf1 Qg2+ 29.Qxg2 fxg2 30.Rhe1? (White should play 30.Kxg2! and if 30…f3+, then 31.Kf2 and the White king is perfectly safe.) 30…Nxd4 31.Kxg2 Nf3 32.Red1 Nxd2 33.Rxd2 Ne3+ 34.Kf2 Nxc2 35.Rc1 fxg3+ 36.Kxg3 Nb4 37.Rc8+ Rxc8 38.bxc8=Q+ 1/2-1/2
Here are some sample lines that you might want to research before playing this version of the King’s Gambit. There are many more unknown or unclear lines than the usual (and over-used – in my opinion) 3.Nf3 lines. Use these lines to start your exploration. You might discover something new to your arsenal.
1.e4 e5 2.f4 exf4 3.Bc4 Qh4+ 4.Kf1
4.Kf1 Qe7
4.Kf1 Ne7
4.Kf1 Nc6
4.Kf1 Nc6 5.Nf3
4.Kf1 Nf6
4.Kf1 Nf6 5.Nf3 Qh5 6.Nc3
4.Kf1 Bc5 5.d4 Bb6
4.Kf1 d6
4.Kf1 d6 5.d4
4.Kf1 d6 5.d4 Bg4 6.Nf3 g5
4.Kf1 d6 5.d4 Be6
4.Kf1 d6 5.d4 g5
4.Kf1 d6 5.Nf3 Qh5
4.Kf1 g5
4.Kf1 g5 5.Nc3 Bg7
4.Kf1 d5
4.Kf1 d5 5.exd5
4.Kf1 d5 5.exd5 Bd6
4.Kf1 d5 5.Bxd5
4.Kf1 d5 5.Bxd5 g5 6.Nf3 Qh5
4.Kf1 d5 5.Bxd5 g5 6.Nc3
4.Kf1 d5 5.Bxd5 g5 6.Nc3 Bg7 7.d4 Ne7